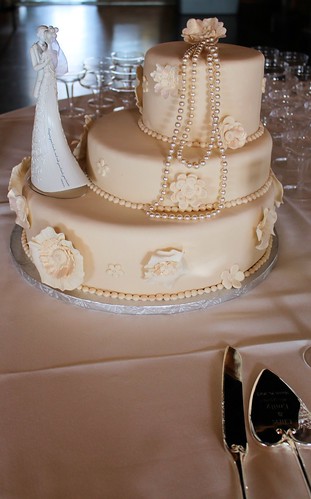
Loved this wedding cake what do you guys think about off centers cakes like this?

Saturday, March 30, 2013
Sunday, January 20, 2013
Lauren Bewick Wedding Cake

Our favorite Cake of the year!!
Via Flickr:
We love how this cake turned out. Almond Sour Cream pound.
Photo credit goes to Rachael Moore
Saturday, December 22, 2012

Saturday, July 28, 2012
Don't you just love lego's?
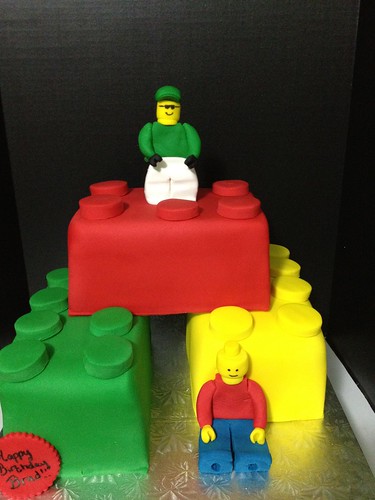
We love Lego's especially Chocolate with amaretto buttercream and amaretto cake with vanilla buttercream en-robed in fondant for protection and perfection that Lego's need!
Wednesday, July 18, 2012
The Glass Wedding

We loved the Glass Wedding. Joe Hendricks Photography rocked this photo shoot out! We love it when our cake is captured by talent as this. http://joehendricks.com/Weddings/
Saturday, June 16, 2012

Monday, June 4, 2012
Jessica and Seth

Lovely wedding we made for this sweet couple cake flavors are Strawberry and Almond cake. Flowers are by one of our favorite vendors! Fresh Weddings By CarryAnn and she shared this lovely photo today with us as well.
Saturday, May 19, 2012
Hollis wedding cake

We love sugar people it is a challenge always, sugar people will be starting at a new price of 250.00 per couple and up based on how close the details need to be.
Hollis motercycle cake

Motorcycle gas tank and seat. Red velvet and cream cheese icing not always are the best combinations for carved cakes. We will suggest from now on a less soft cake and cream cheese icing only in the middle.
Friday, May 4, 2012


Friday, March 30, 2012
Vintage cupcakes Scrap paper design bellwood
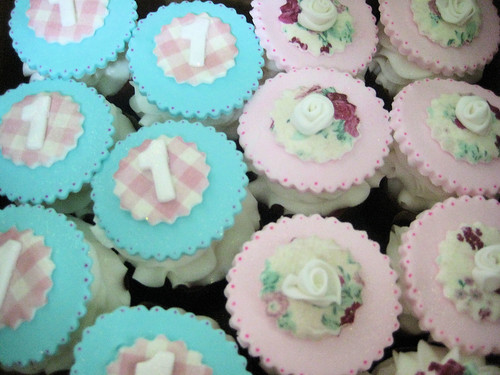
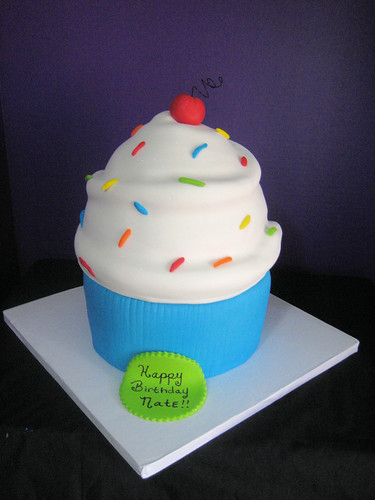
We love designing cupcakes! we do very custom work most of the time with all of the cakes we make here at www.cakesbyshara.net.
Friday, March 23, 2012
Monday, February 20, 2012

Thursday, February 16, 2012
Blues guitar
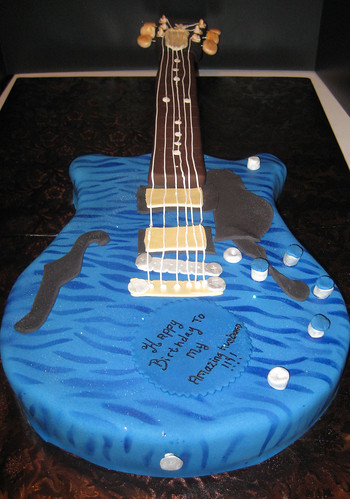
We love cakes like this! Yellow cake with buttercream icing. Artwork that you can eat what can be better this is what the client had to say which makes it all worth while!
Shara, the cake was fantastic! We loved it and everything about it! It tastes fabulous! Thank you again and I look forward to the next time. We're trying to come up with a date in June for our 1yr anniversary party! Thank you again
*T. Mitchhart*
Tuesday, February 14, 2012
vans1
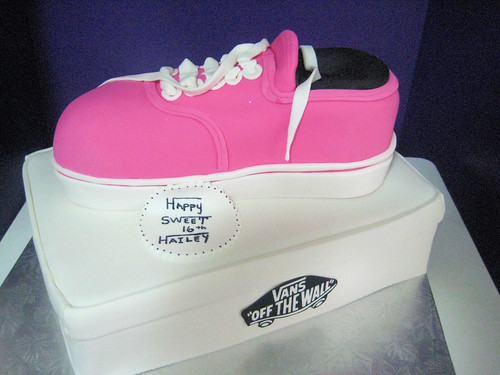
We Love cakes like this! Vanilla bean cake with vanilla buttercream en-robed in fondant to keep all the most yummy goodness inside.
Saturday, February 11, 2012
Nicole and Kyle Wedding Feb 11
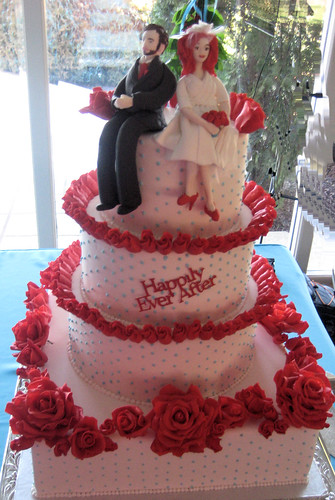
We Love custom sugar people and fun cakes always! We love the colors on this cake fun happy red handmade sugar roses and turquoise!
Red velvet cake with cream cheese icing on the inside and fondant en-robed with royal icing piping.
Friday, February 10, 2012
The Difference Between Fondant and Buttercream and how much your guest REALLY get on their cake slice.
I thought it would be helpful to blog about fondant covered cakes and the difference between the two finished product.
Here is the first picture.

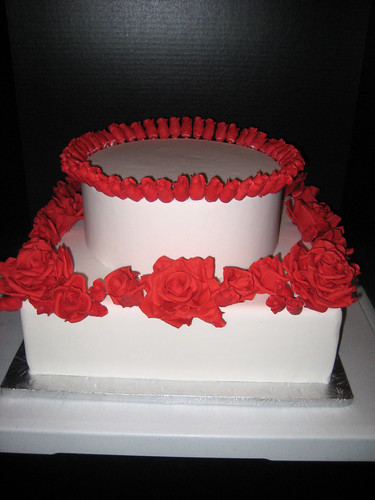
This Is a buttercream finished red velvet cake yes it is pretty smooth.


Here is the first picture.

This Is a buttercream finished red velvet cake yes it is pretty smooth.

This is a fondant en-robed buttercream covered cake like above but better now because all that yummy buttercream is now staying moist and the cake is protected from air.

This is the size of the top of your cake this is how much fondant we are talking about for most guests.The only guests that would receive more would be those that get end pieces. In 120 people wedding that might be about 30 people.

This is the thickness we strive to roll to. We DO NOT believe your cake should have a SLAB of 1/4 inch wide fondant on it. That IS just nasty and really unacceptable today.

Here is another look at the thickness we roll to.
Now some questions which one looks better to you? Does it help to see how big the fondant slice really is for your guests? Did you know that 99% of all the cakes you see in the magazines are fondant en-robed cakes? Did you know that most bakers cannot make buttercream look like fondant because buttercream is buttercream and fondant is fondant period. If you can make it look like fondant you better REALLY like Italian meringue or Swiss meringue buttercream to me it tastes a little like a stick of butter not icing and it will cost you a lot more because we are going to make that icing in small batches. That is the only way we could make a super smooth finish happen without it cracking or showing many imperfection. Or we must use a all shortening based icing and to me this is not my favorite. I like American Buttercream.

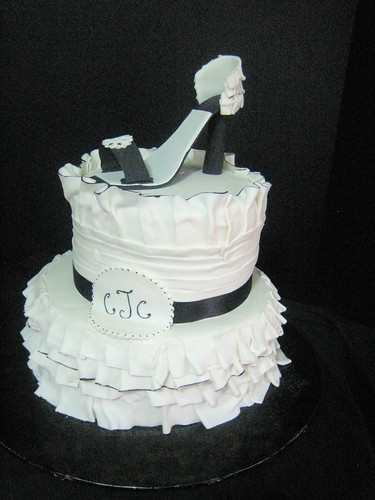
Fondant look with Swiss dots

Buttercream look with Swiss dots
Which finish looks better to you?
Monday, January 23, 2012
Tuesday, January 17, 2012
Brides Choice Award on Weddingwire
We are honored and thankful to be chosen by our brides.
As a recipient, Cakes By Shara is recognized as part of the top 5% of Wedding Professionals nationwide.
As a recipient, Cakes By Shara is recognized as part of the top 5% of Wedding Professionals nationwide.
Sunday, January 15, 2012
sugar rose progress on cake
Here are some VIP sugar flowers I am working on. the cake is half Styrofoam so we could start work early. I think we are finally understanding how to make a rose. the small buds are production roses ordered in to save time but each of the large and medium roses are hand made.
Wednesday, January 11, 2012
Erika Wedding Cake Professional photo

We love to share when Local photographers share their talent when they capture our work. enjoy the work of
Nashville Wedding Photographers-Jen & Chris Creed.
www.jenandchriscreed.com
Thursday, December 29, 2011
Subscribe to:
Posts (Atom)